Changing a car battery requires strict adherence to safety protocols and proper technique to prevent electrical hazards and guarantee successful installation. Start by parking on a flat surface, engaging the parking brake, and gathering necessary tools including protective gear, wrenches, and a wire brush. Disconnect the negative terminal first, followed by the positive, then remove any hold-down clamps securing the old battery. After cleaning the battery tray and terminals, install the new battery, connecting the positive cable first, then the negative. Verify proper connections and test all electrical systems for ideal performance. Following each step precisely will help avoid common pitfalls and secure your vehicle’s reliable operation.
Expert Highlights
- Park on flat ground, turn off the engine, and wear safety equipment including gloves and protective eyewear.
- Disconnect the negative (black) terminal first, then the positive (red) terminal to avoid short circuits.
- Remove battery hold-down clamps, clean corrosion with wire brush, and lift out old battery using carrying strap.
- Place new battery in tray, apply terminal protector, and connect positive (red) terminal first, then negative (black).
- Secure battery with hold-down clamps and verify all connections are tight before starting the vehicle.
Safety First

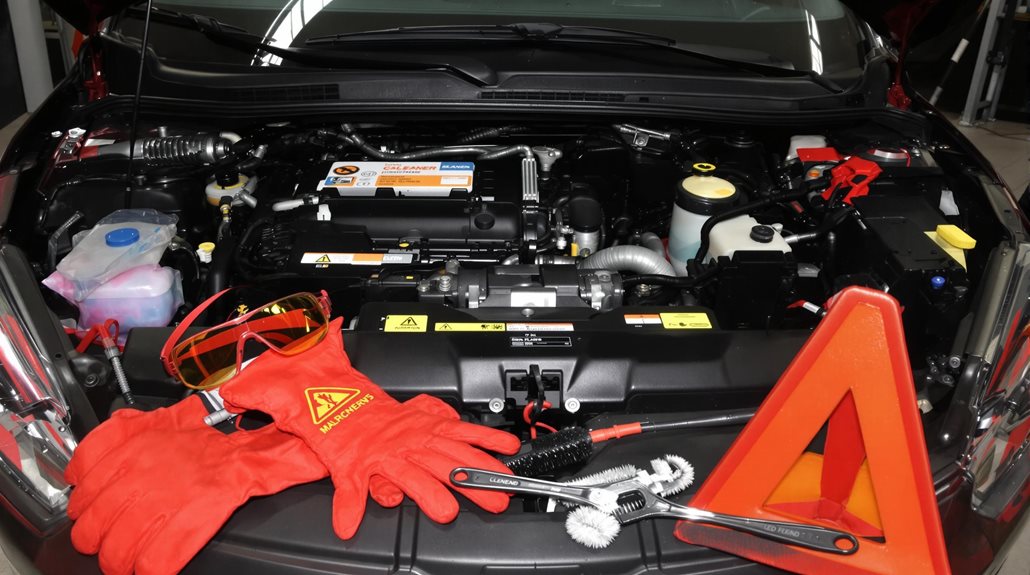
Changing a car battery requires several essential safety precautions to protect yourself and prevent accidents. Before beginning the process, make certain you’re wearing appropriate safety equipment, including protective goggles to shield your eyes and gloves to guard your hands from acid and sharp edges.
The work environment is equally critical – park your vehicle on a flat, dry surface and engage the parking brake to maintain stability throughout the procedure.
If you’ve recently driven the car, allow sufficient time for the engine to cool down to avoid potential burns. Additionally, keep all flames, cigarettes, and potential spark sources away from the battery, as batteries can emit flammable gases.
When disconnecting the battery, always remove the negative (black) terminal first to prevent dangerous short circuits that could damage your vehicle or cause injury. Remember that experienced technicians use advanced equipment when performing a jump start, ensuring both efficiency and safety.
Required Tools and Equipment
For a successful battery replacement, you’ll need several essential tools and pieces of equipment. Having the right tools not only guarantees your safety but also helps complete the task efficiently and without damaging your vehicle’s electrical system. Before beginning the replacement process, gather all necessary items and verify they’re in good working condition.
- Adjustable wrench or battery terminal wrench
- Wire brush or terminal cleaning tool
- Safety glasses and protective gloves
- Memory saver device (to preserve vehicle settings)
- Battery carrying strap or handle
Roadside assistance can also be of help when facing unexpected car issues; they offer lockout service to help regain access to your vehicle. These tools represent the minimum requirements for a proper battery change. The adjustable wrench helps loosen and tighten terminal connections, while the wire brush removes corrosion buildup. Safety equipment protects against acid exposure and electrical hazards, and the memory saver prevents loss of electronic presets. A battery carrying strap certifies safe transport of both old and new batteries.
Battery Compatibility Check

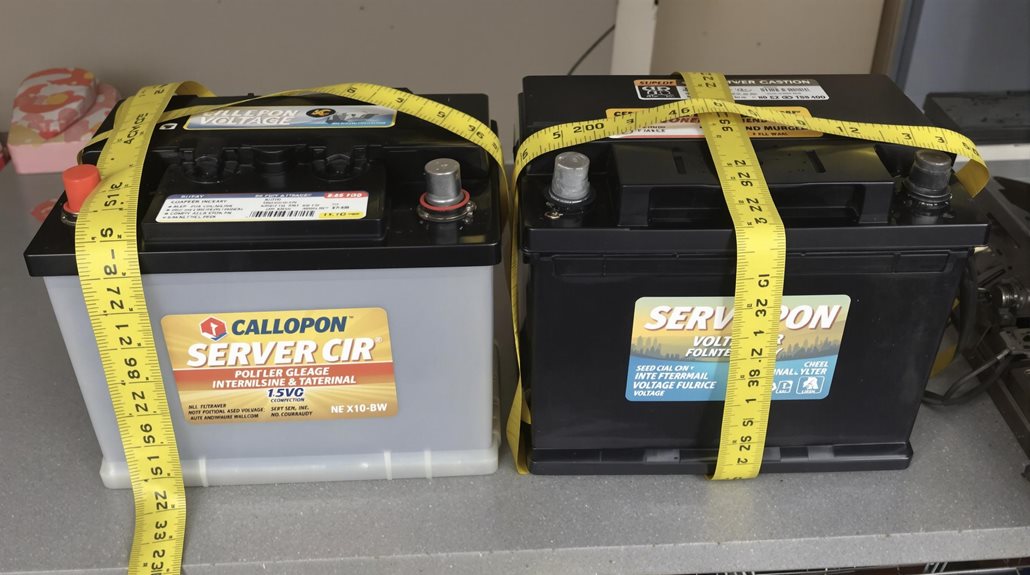
Before purchasing a replacement battery, conducting a thorough compatibility check is essential to guarantee proper fit and function in your vehicle. Begin by measuring the physical dimensions of your existing battery to confirm the new one will fit properly in the battery tray. Next, determine the specific battery type required, whether it’s a standard flooded, AGM, or gel battery, as using the wrong type can damage your vehicle’s charging system. Critical specifications to verify include the cold cranking amps (CCA) rating and reserve capacity, which should correspond or exceed your vehicle’s requirements. Additionally, examine the terminal configuration carefully, ensuring the positive and negative posts are positioned correctly. For absolute certainty, consult your vehicle’s owner’s manual or seek guidance from a qualified automotive parts specialist who can match your specific make, model, and year. Professional tire change service is recommended to prevent issues that may arise from handling automotive components without expertise.
Removing the Old Battery
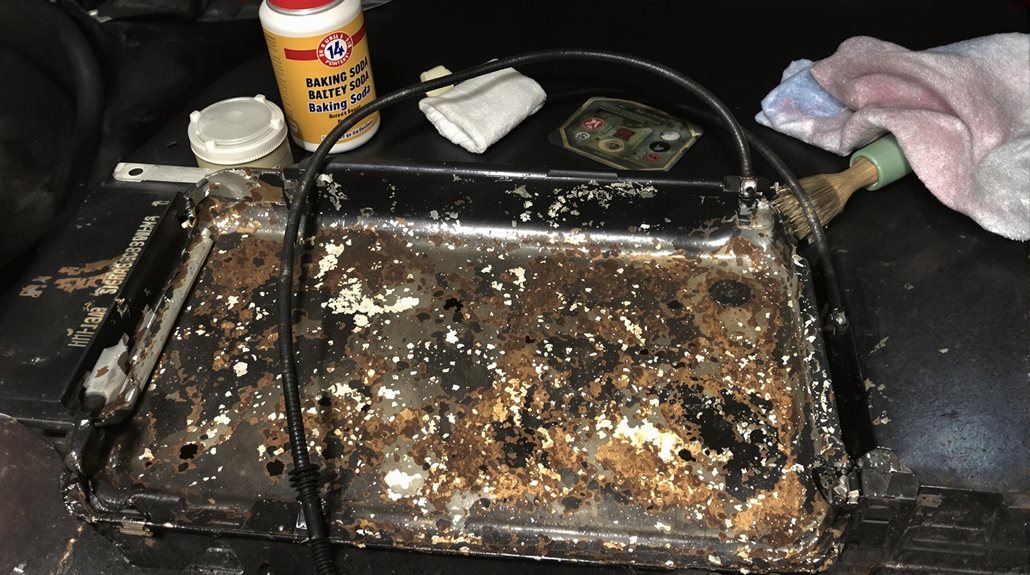
With proper safety precautions in place, start the battery removal process by disconnecting the negative (black) terminal first, followed by the positive (red) terminal. This sequence prevents dangerous electrical shorts and sparks that could cause serious injury or damage to your vehicle’s electrical system. Remove any battery hold-down clamps or brackets securing the battery in place. Clean any visible corrosion from terminals using a wire brush and baking soda solution. Check surrounding components for damage or deterioration that might need attention. Lift the battery straight up using the built-in handles or battery carrying strap. Document the battery’s position and cable routing for proper reinstallation. If assistance is needed, consider reaching out to roadside assistance services for a comprehensive solution. Once these steps are complete, carefully lift out the old battery, being mindful of its substantial weight. Remember that car batteries typically weigh between 30-50 pounds and require proper lifting technique to avoid injury.
Battery Tray Preparation

Now that the old battery has been removed, proper preparation of the battery tray becomes essential for ideal performance and longevity of your new battery. The first pivotal step is to thoroughly clean the tray, removing all traces of corrosion and debris that could compromise the installation.
Carefully inspect the tray for any signs of damage or warping that might prevent the new battery from fitting securely. It’s indispensable to guarantee the tray is completely dry before proceeding, as moisture can accelerate corrosion and lead to premature battery failure. To ensure peace of mind, consider the assistance of a reliable and trustworthy jump start service to help prevent future battery-related issues. Apply a thin protective layer of battery terminal protector or dielectric grease to the tray surface, creating a barrier against future corrosion.
Finally, position the new battery carefully in the prepared tray, securing it firmly with the appropriate restraining system to prevent movement during vehicle operation.
New Battery Installation
Installing a new car battery requires careful attention to proper positioning and connection sequence. The process demands precision to guarantee optimal performance and prevent potential electrical system complications. Before securing the battery, verify its compatibility and correct orientation within the battery tray.
- Position the battery with terminals aligned according to the vehicle’s configuration
- Lower the battery carefully into the tray, avoiding impact with surrounding components
- Secure the battery hold-down clamp or bracket to prevent movement
- Connect the positive (red) terminal first, followed by the negative (black) terminal
- Verify all connections are tight and properly protected with terminal covers
The successful installation of a new battery depends on following these steps meticulously, as improper installation can lead to electrical system damage or battery failure. For reliable 24-hour emergency response throughout the state of Minnesota, consider utilizing a 24-hour roadside assistance service if unexpected complications arise. Confirm all tools and hardware are properly secured before completing the installation.
Testing and Final Steps

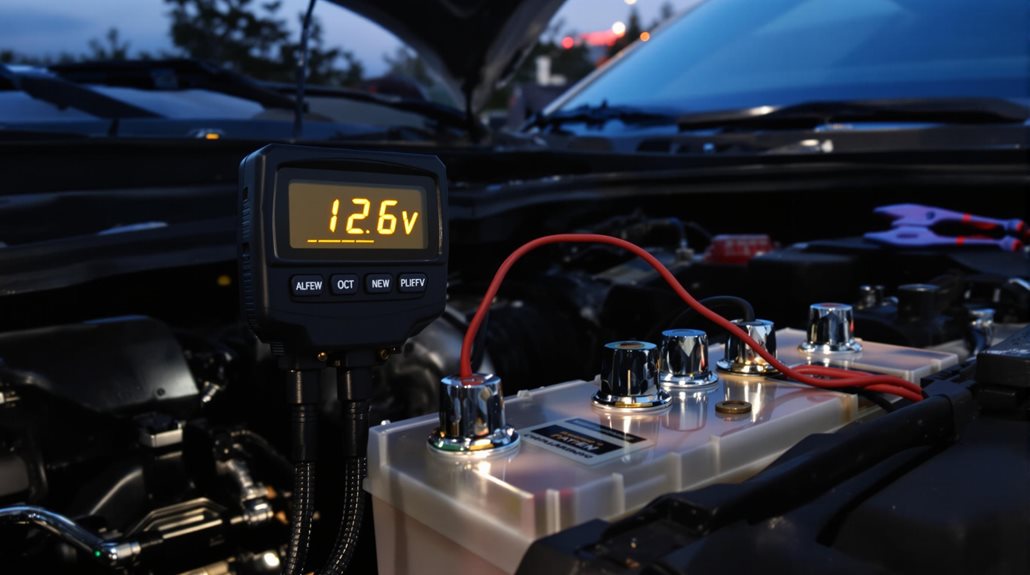
The final phase of battery replacement involves thorough testing and system verification to guarantee proper functionality. Begin by using a voltmeter to confirm the new battery is fully charged, ensuring ideal performance from the start. Carefully inspect the battery terminals and connections for any signs of corrosion or wear that could impede electrical flow. Once these initial checks are complete, start the engine and monitor the battery voltage to verify the charging system is operating correctly. If you notice ongoing battery drain issues, it’s pivotal to have a professional test the alternator and charging system. Additionally, you can contact 24/7 roadside assistance if you encounter any issues during the replacement process. Finally, take time to reset any vehicle electronics or settings that may have been disrupted during the replacement process, as this step is often overlooked but necessary for proper vehicle operation.
FAQ
How Long Does It Typically Take to Change a Car Battery?
Changing a car battery typically takes 15-30 minutes for experienced individuals, though first-time DIYers may need 30-45 minutes. Professional mechanics can complete the task in 10-15 minutes with proper tools.
What Should I Do With Error Codes After Installing a New Battery?
After installing a new battery, scan and clear any error codes using a diagnostic tool. Some vehicles may require computer system resets or specific battery disconnect procedures to relearn settings.
Can I Change My Car Battery While It’s Raining?
Changing a car battery in the rain is not recommended due to safety risks from electrical shorts and shock hazards. Wait for dry conditions whenever possible to guarantee safe and proper installation.
Do I Need to Warm up My Car After Installing a New Battery?
No, you don’t need to warm up your car after installing a new battery. The battery works immediately upon proper installation, and normal driving will allow the charging system to function properly.
How Can I Tell if My Alternator Is Bad Versus My Battery?
Signs of a bad alternator include dimming lights while driving and battery issues that persist after replacement. A bad battery typically shows problems starting the car but improves with a jump-start.
Experts Final Thoughts
Proper battery replacement stands as a critical maintenance task that guarantees reliable vehicle operation and prevents potential electrical system damage. Following correct safety protocols, using appropriate tools, and executing precise installation steps safeguards both the vehicle and the mechanic. Regular battery inspections and timely replacements prevent unexpected breakdowns and extend the life of electrical components. A properly installed battery provides peace of mind and excellent vehicle performance for years to come.
